Recording your iPhone or iPad Screen for Youtube
There are a lot of reasons why you might want to use footage recorded from the screen of your apple device in your YouTube videos. Some people like to make YouTube tutorials about iPhone or iPad apps, others like to share their gaming experiences, and some need to use footage taken from their devices for presentations. Even if you do not think these kinds of videos suit your vlog, screen recording is a useful tool to have on your belt. You never know when one of your subscribers is going to ask you about your favorite mobile games.
While there are a few different mobile apps for recording the screens of Android devices there are not many iOS apps specifically for screen recording. However, it is still very easy to record your iPhone screen. Instead of using a mobile app you will need to record using your desktop computer. You can either record the screen of your device directly after hooking it up to your computer, or mirror the interface of your mobile device onto your computer screen and record it there. Here are two methods for taking screen recordings of your iPhone’s interface:
Part 1.Wired Using QuickTime on your Mac
If you have a Mac then you already have all the software you need.
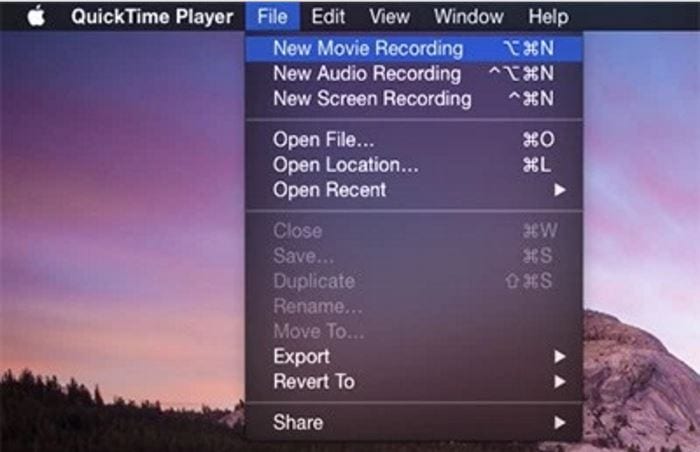
Connect your tablet or smartphone to your computer using a USB port, and then open QuickTime on your Mac. In QuickTime select ‘File’ and ‘New Movie Recording’. A recording window will pop up.
In the recording window there will be a red ‘record’ button. Next to that button there will be an arrow. Click the arrow and a menu of recording options will appear. In the section where it says ‘Camera’ select your iPhone or iPad. In this menu you can also choose whether or not to record audio from your device, such sound effects from games.
Once you are finished in this menu click record to begin recording the screen of your device. Click ‘stop’ when you are finished recording.
Although you can download a version of QuickTime for PC, the PC version does not have a screen recording option. If you have a PC you will need to use the second method.
Part 2. Wirelessly Using AirPlay and Reflector(For Mac or PC!)
If you either prefer to do things wirelessly or own a PC then you will need to use a slightly more round-about method. Rather than recording directly from your iPhone you will be mirroring your device’s interface onto your computer screen and then recording it there.
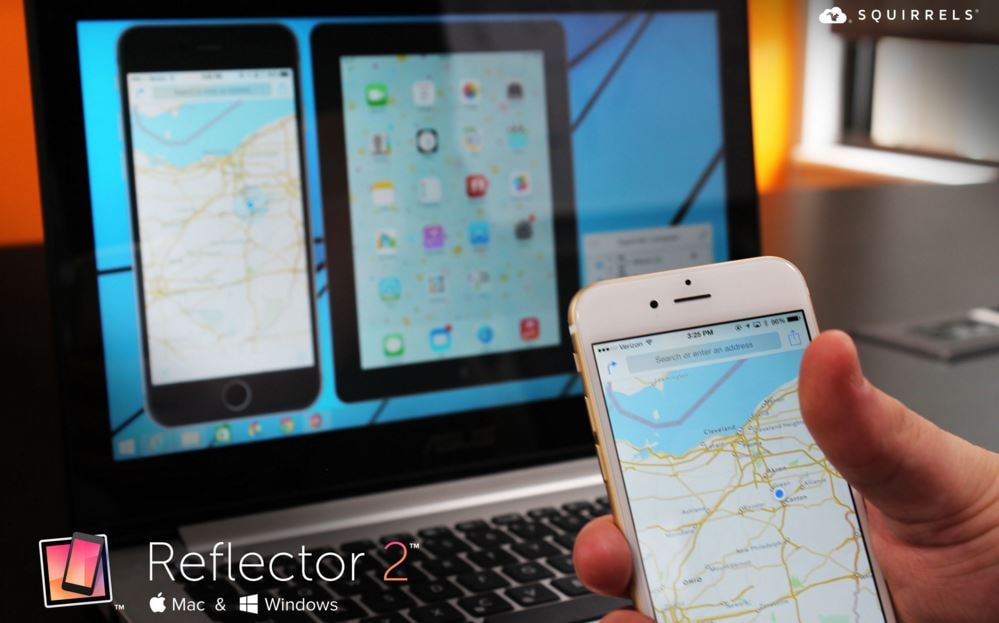
First, you will need to download a third party mirroring app. Reflector is the popular choice. You can download Reflector at Airsquirrels.com.Next, you need to have Apple’s Airplay on your device.
Make sure Reflector that your computer and device are connected to the same wifi network.
Open Reflector on your PC. Initially it will tell you there is no device connected.
Open AirPlay on your device and make sure mirroring is turned on. Your computer’s name will show up as a receiver option. Select it.
This will cause the display of your smartphone or tablet to pop up on your computer screen. Once your device is being mirrored on your computer, record your computer screen.
You can record your Mac or PC screen using Filmora Video Editor. Using Filmora you can crop out and record only your iPhone display instead of your entire computer screen. You can download the latest version of Filmora Video Editor at Filmora.wondershare.com.
If you have a Mac you can also record your computer screen in QuickTime following the same steps listed above, until it comes time to choose your camera. Then you record your desktop instead of your device. There are a few different screen recording programs you can download for PC.
Try Wondershare softwares today.